|
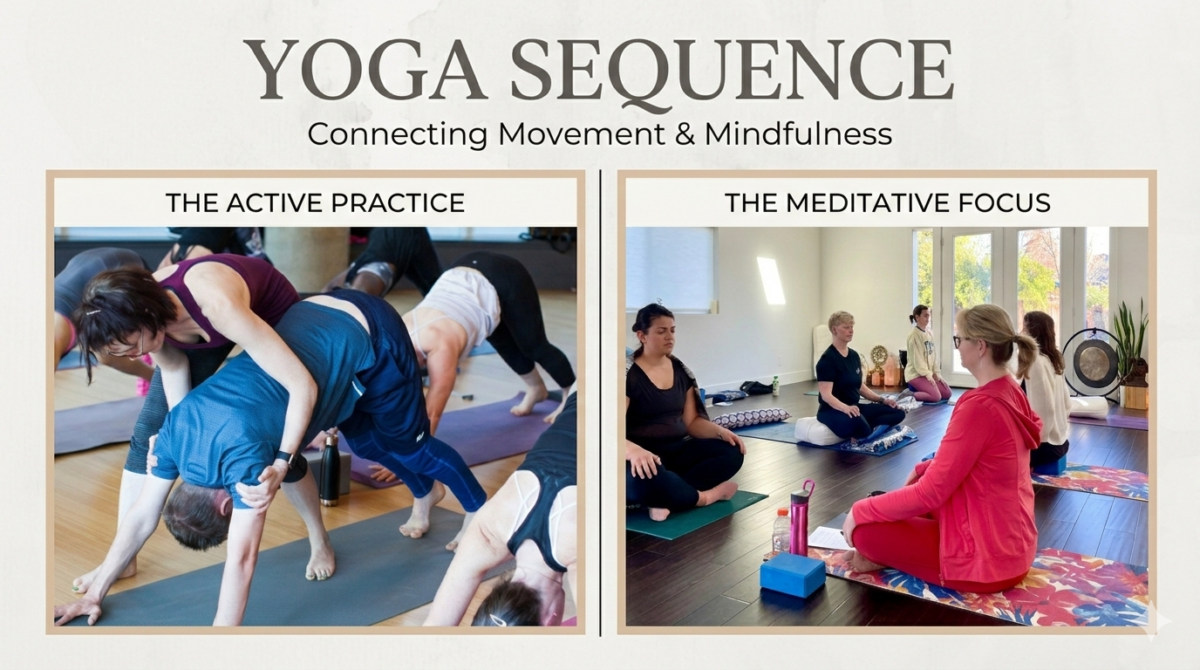
Sequencing is the hidden art of the yoga class. Peak pose sequencing is a sequencing style in which you select a challenging apex pose and then creates a sequence that will sensibly prepare the body to get there.
Peak Pose Sequencing: a yoga sequencing style that builds the class progressively towards a challenging apex pose.
There are other styles of sequencing. Some yoga styles (like hot and ashtanga) use a set sequence where the same poses are practiced each time, while other styles of yoga (like wave vinyasa) build upon repetitive iterations of postures. Teachers may sequence a class around an energetic focus or sequence to create a well-rounded and balanced class.
I prefer peak pose sequencing because
Peak pose sequencing has five steps.
In peak pose sequencing, we first must define the peak pose for the yoga class. For our purposes, let’s choose a peak pose of warrior 3.
When you select your peak pose, you will generally want to choose a pose that is complex and challenging for the average practitioner.
Component parts are the parts of the body that must be educated or warmed up appropriately in order to do the peak pose.
Component parts: parts of the body that must be educated or warmed up appropriately in order to do the peak pose.
For example, let’s consider warrior 3. What makes this pose challenging? What parts of the body need to be warmed up our educated in order to do this pose safely and effectively?

Well, we know that it’s very hard to keep the hips square in this posture. So one of our component parts may be “neutral/square hips.” We also know that the hamstrings need to be open, so another component part may be “open hamstrings.”
Note: it is important to be specific with any component part that is referencing the hips or shoulders. It’s not enough to list a component part as “hips,” since the hip is a ball and socket joint and “hips” could mean anything! Be specific about what is happening at the hip and shoulder joint.
Your ability to balance is challenged, so another component part may be “balance,” or “foot/ankle stability.” You may also recognize that the back body has to work against gravity to find stability and lift, so you may add in “back extensors.”
While you can dive down a component part rabbit hole, it’s better to restrict the number of component parts to about six or so in order to focus on what is most important to teach or address in order to achieve the final posture.
Our final list of component parts for warrior three may be:
Now that we have a list of our component parts, let’s examine how we would choose our poses. For each component part on your list, brainstorm a list of less complex poses that also teach to this component part or action.
For example, can you think of other poses in which the hips must work to be square? What can you come up with?
There are lots of options, but our list may include:
For each component part, brainstorm about five poses that you feel really help your student to understand its action. Note: you may have the same poses in multiple lists; for example, pyramid pose helps train both “square hips” as well as “open hamstrings” so it’s a double whammy!
Once you’ve created your list of poses, put them in order from most accessible (easiest on the body) to hardest (most difficult for the average practitioner). Your peak pose should be the most challenging, so warrior three will be the last pose on your list. If you have a pose on your list that’s harder than your peak, save it for a different sequence!
By organizing your poses in this way, you will create a class plan the builds logically in the body and helps each pose prepare for the next.
Remember that peak pose sequencing is style blind; this means that this logic will work for many hatha, hot or vinyasa styles. Although the order of the poses may not change, the way in which you transition the poses will create your style. For example, in a flow practice, you may link multiple poses together, repeat poses several times, and link poses via a vinyasa or sun salutation. In a hatha style class, you may practice one static pose simply after the other.
By planning your transitions skillfully, you will create an intentional experience for your students.
One final thought.
The class doesn’t end at the peak pose. Students often need to wind down and counter balance the body.
Consider: what poses would counterpose or balance the action of the peak pose? For example, if you have practiced warrior three as your peak, then you really don’t need to do more hamstring opening. You probably spent the whole class preparing to open the hamstrings! Instead, it may feel really nice to stretch the outer hips and inner thighs, which were active and engaged to support balancing and squaring the hips.
For your “cool down,” consider what needs to be stretched and what needs to be “contained” in order to counterbalance your peak posture. Then choose 3-5 poses that help to unwind the body from its efforts.
Pro Tip: understanding component parts can also guide your cueing. Now that you understand which component parts that are being targeted in each pose, use your cues to reinforce and instruct to those actions as you move through your sequence. By the time you reach your peak pose destination, your students will have a deeper and more embodied understanding of what they need to do.
Check out my sequences to these poses:
Want more? Check out my continuing education courses in Yoga Sequencing and Teaching here.
Rachel supports yoga teachers and studios around the world to create transformational education experiences that help them thrive in their business, share their passion, and inspire more people to practice yoga. Her extensive knowledge and experience include: earning two masters degrees, authoring three books, leading 4,000+ hours of TT, building a teacher training college for a national yoga company, and working behind the scenes in yoga studio & teacher management for more than fifteen years. As a writer and speaker, she continually wrestles with the juicy bits of life: relationships, authenticity, and discovering meaning in this crazy, wildish world. E-RYT 500, YACEP, BA, MFA, MSci. Learn more about Rachel.


Leave a Reply